
Shot by Antic Owl
Tools
- Universal Unreal 4 Unlocker by Otis_Inf
Features: Camera control, FoV control, HUD toggle, timestop/gamespeed, hotsampling and camera path - ReShade by Crosire
Features: Screen Capture, Addons, Shaders,...
Controls
Refer to the UUU documentation for a complete list of controls available to you and how to use them.
Using UUU Camera Path for Motion Blur
Camera paths not only let you create in-game videos but they can also be used to create motion blur in still images with the help of ReShade and the Real Long Exposure shader. Below are the steps how to achieve this.
- Once your game has started, launch the UUU client and inject it.
- Find the scene you want to capture and pause the game by pressing
Page DownorNumPad 0. - Hide the HUD by presssing
Delete. - Enable the camera by pressing
Insert. - Frame you scene (FoV, angle, etc).
- Go back to the UUU client and change the game speed as slow as you can. Recommended would be 0.01
- At the bottom of the window activate the Show camera path control window button.
-
To attach the camera to the player or player vehicle the following options will need to be set.
- Set
Total play timeto a large number, suggested 50s or more depending on how long your exposue is going to be. - Enable
Playback is relative to the player character's location - Enable
Playback has a constant speed
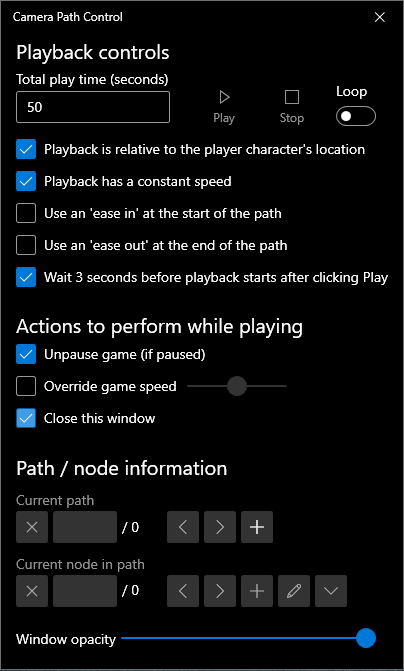
- Set
- Add a new camera path by clicking on the
+next to Current path. - Add 2 nodes at the same place by clicking twice on
+next toCurrent node in path - Start the playback by pressing on the
Playbutton orF7and move the player. The camera will follow. - Start long exposure between 1s, 2s or more.
- Take the screenshot.
Examples
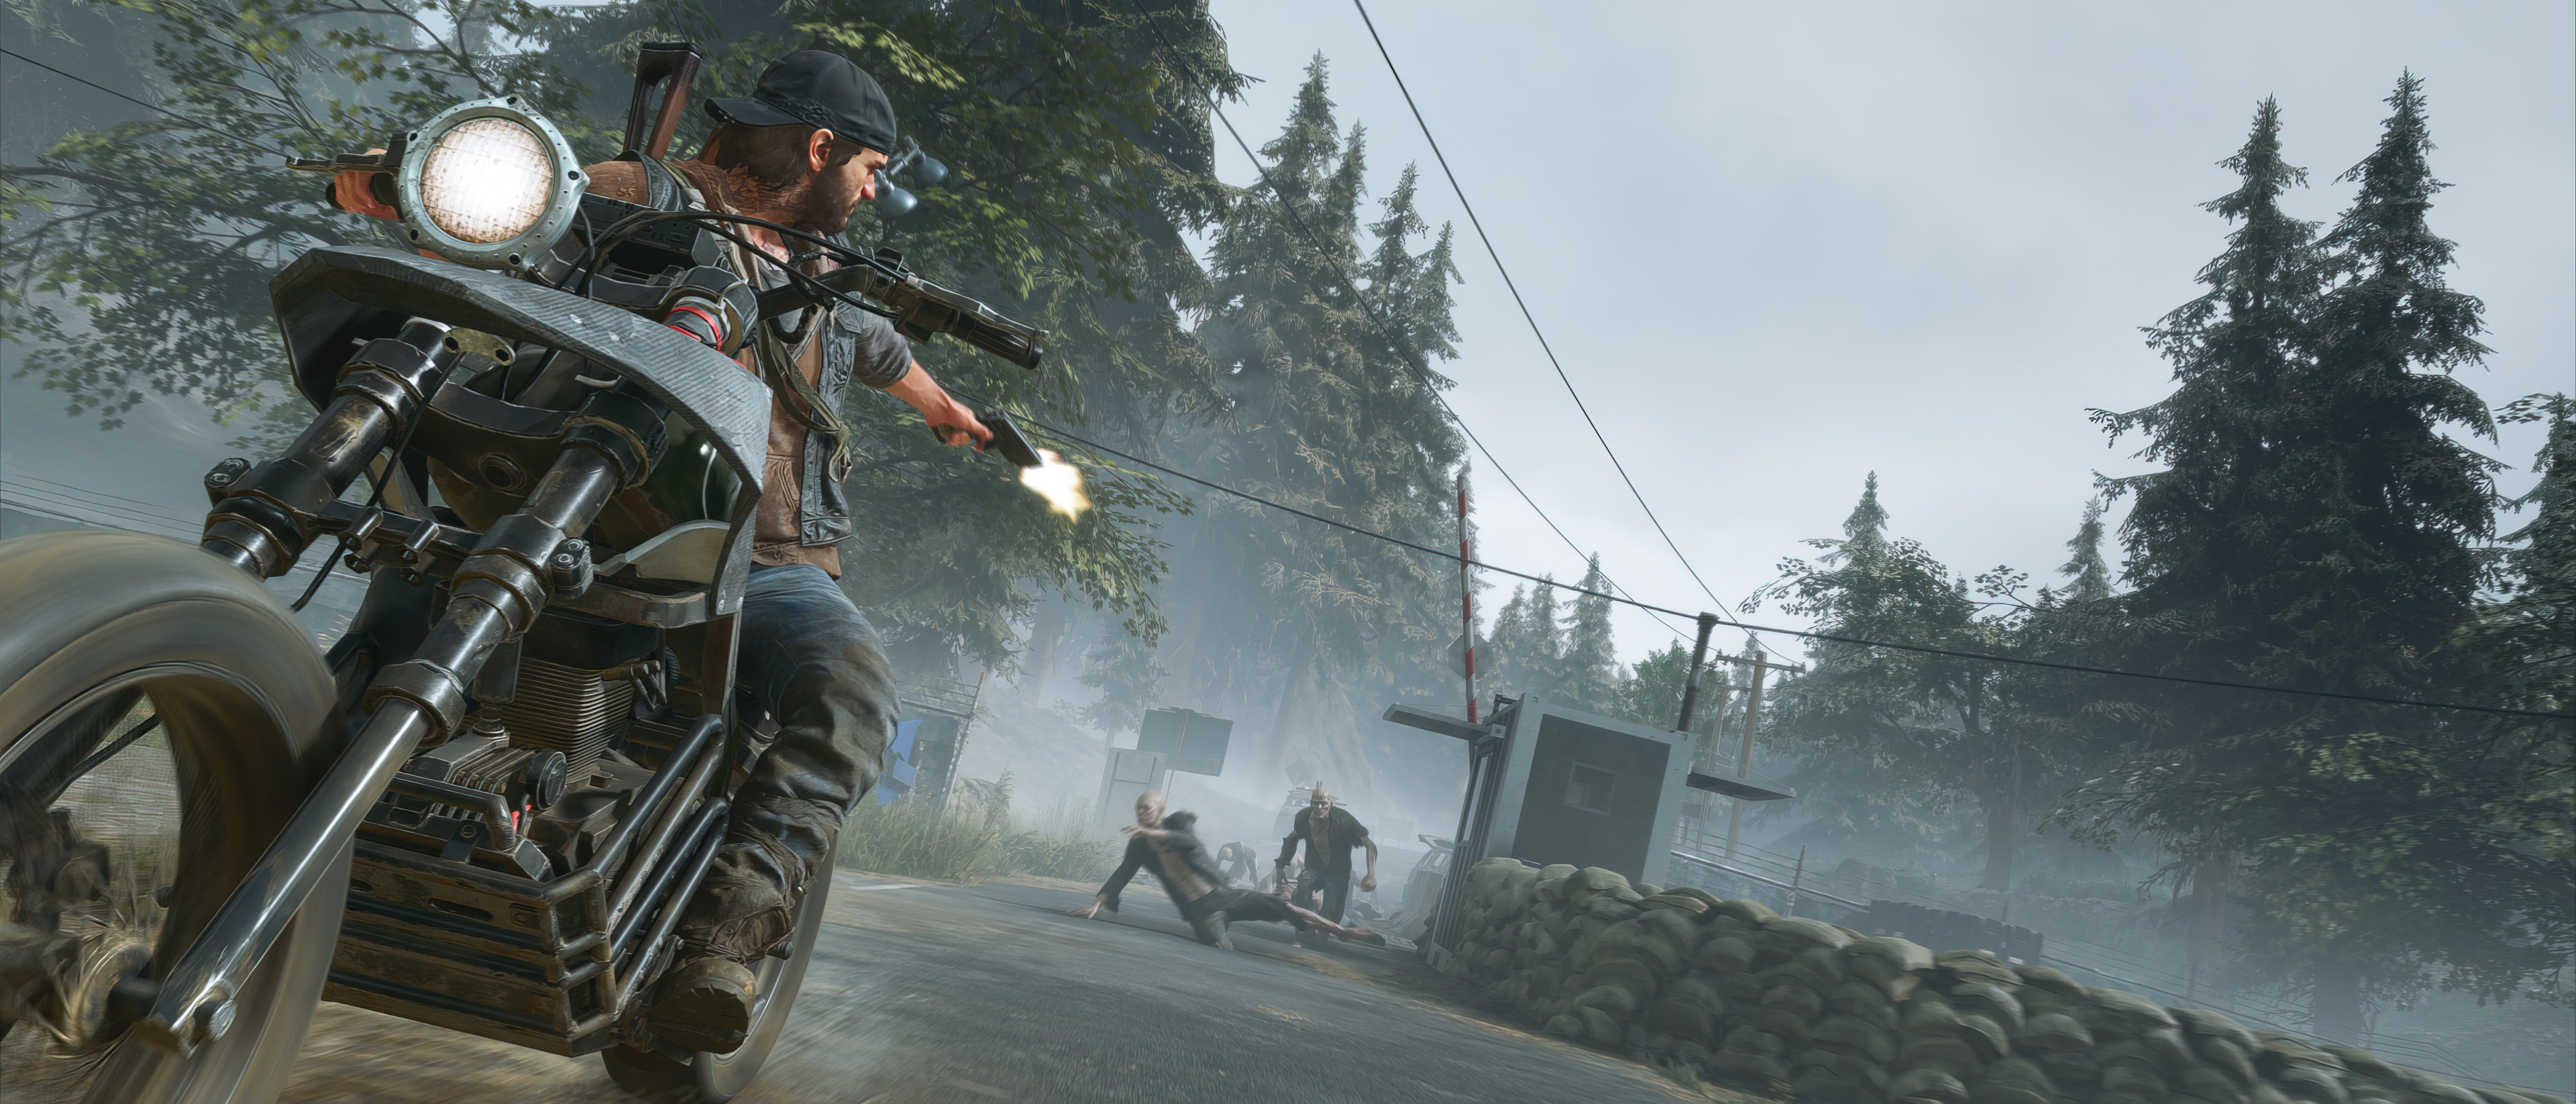
Below are two examples with a before and after shot:
After
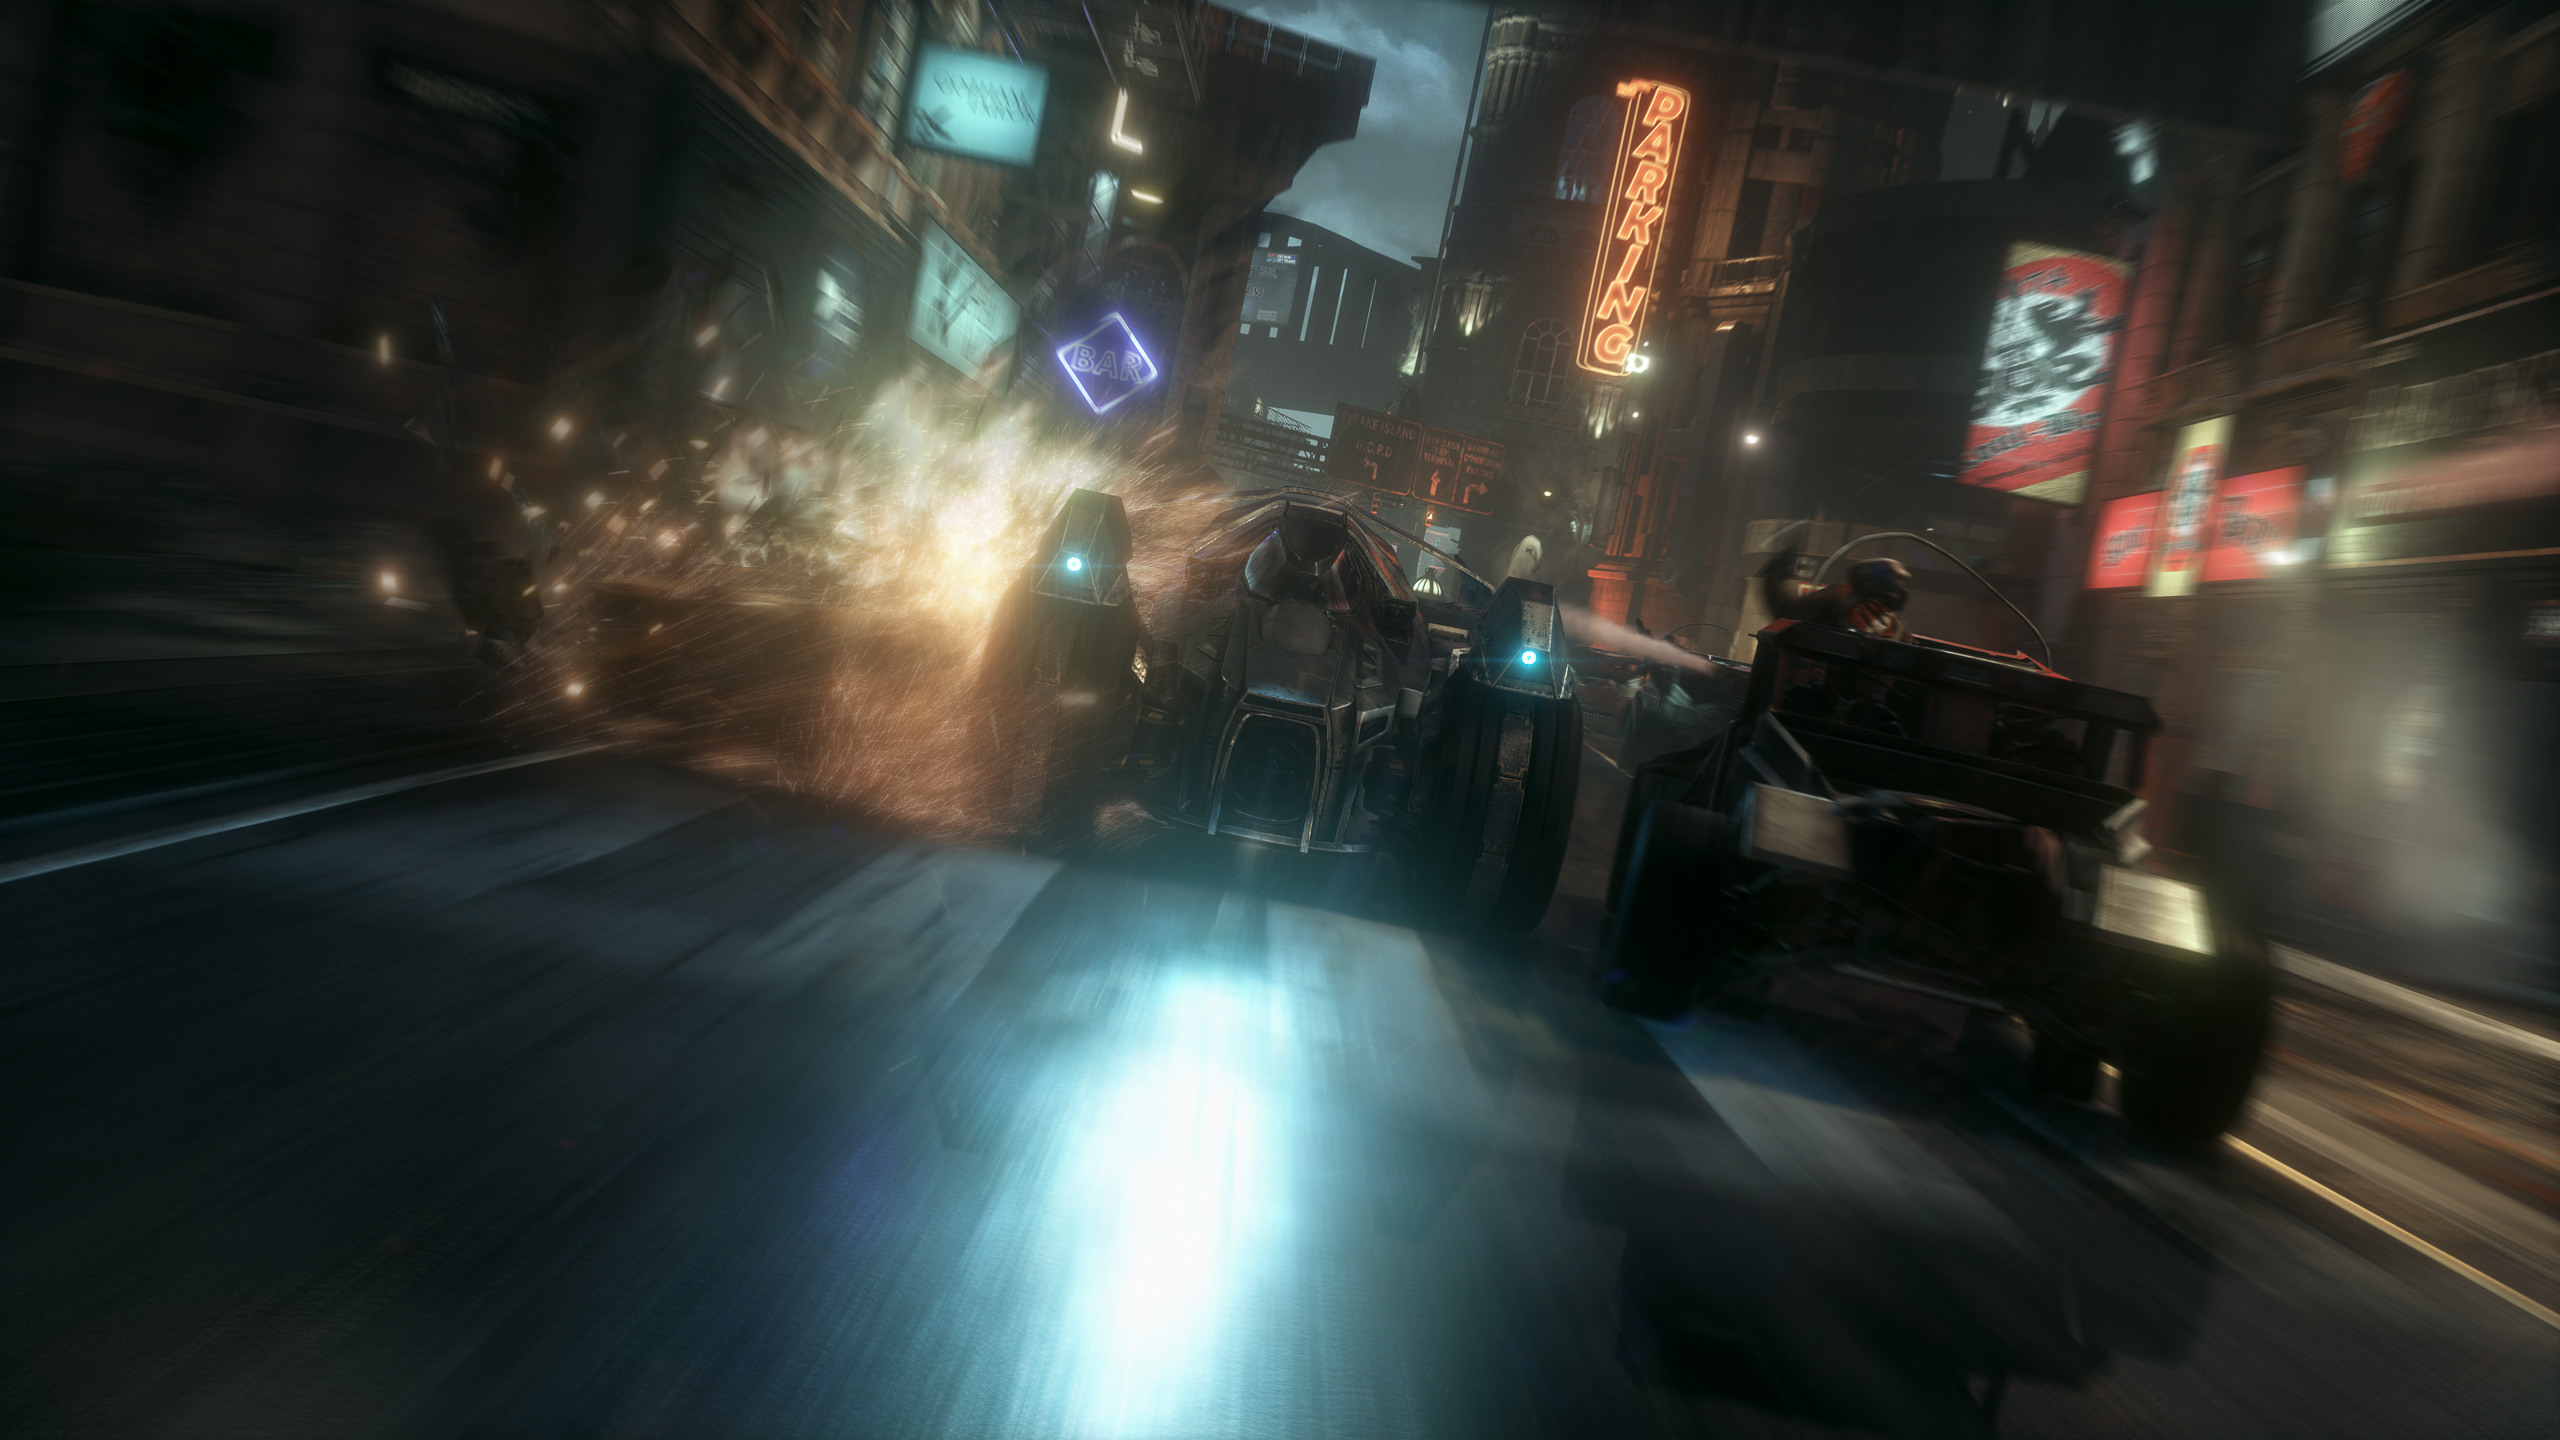
Before
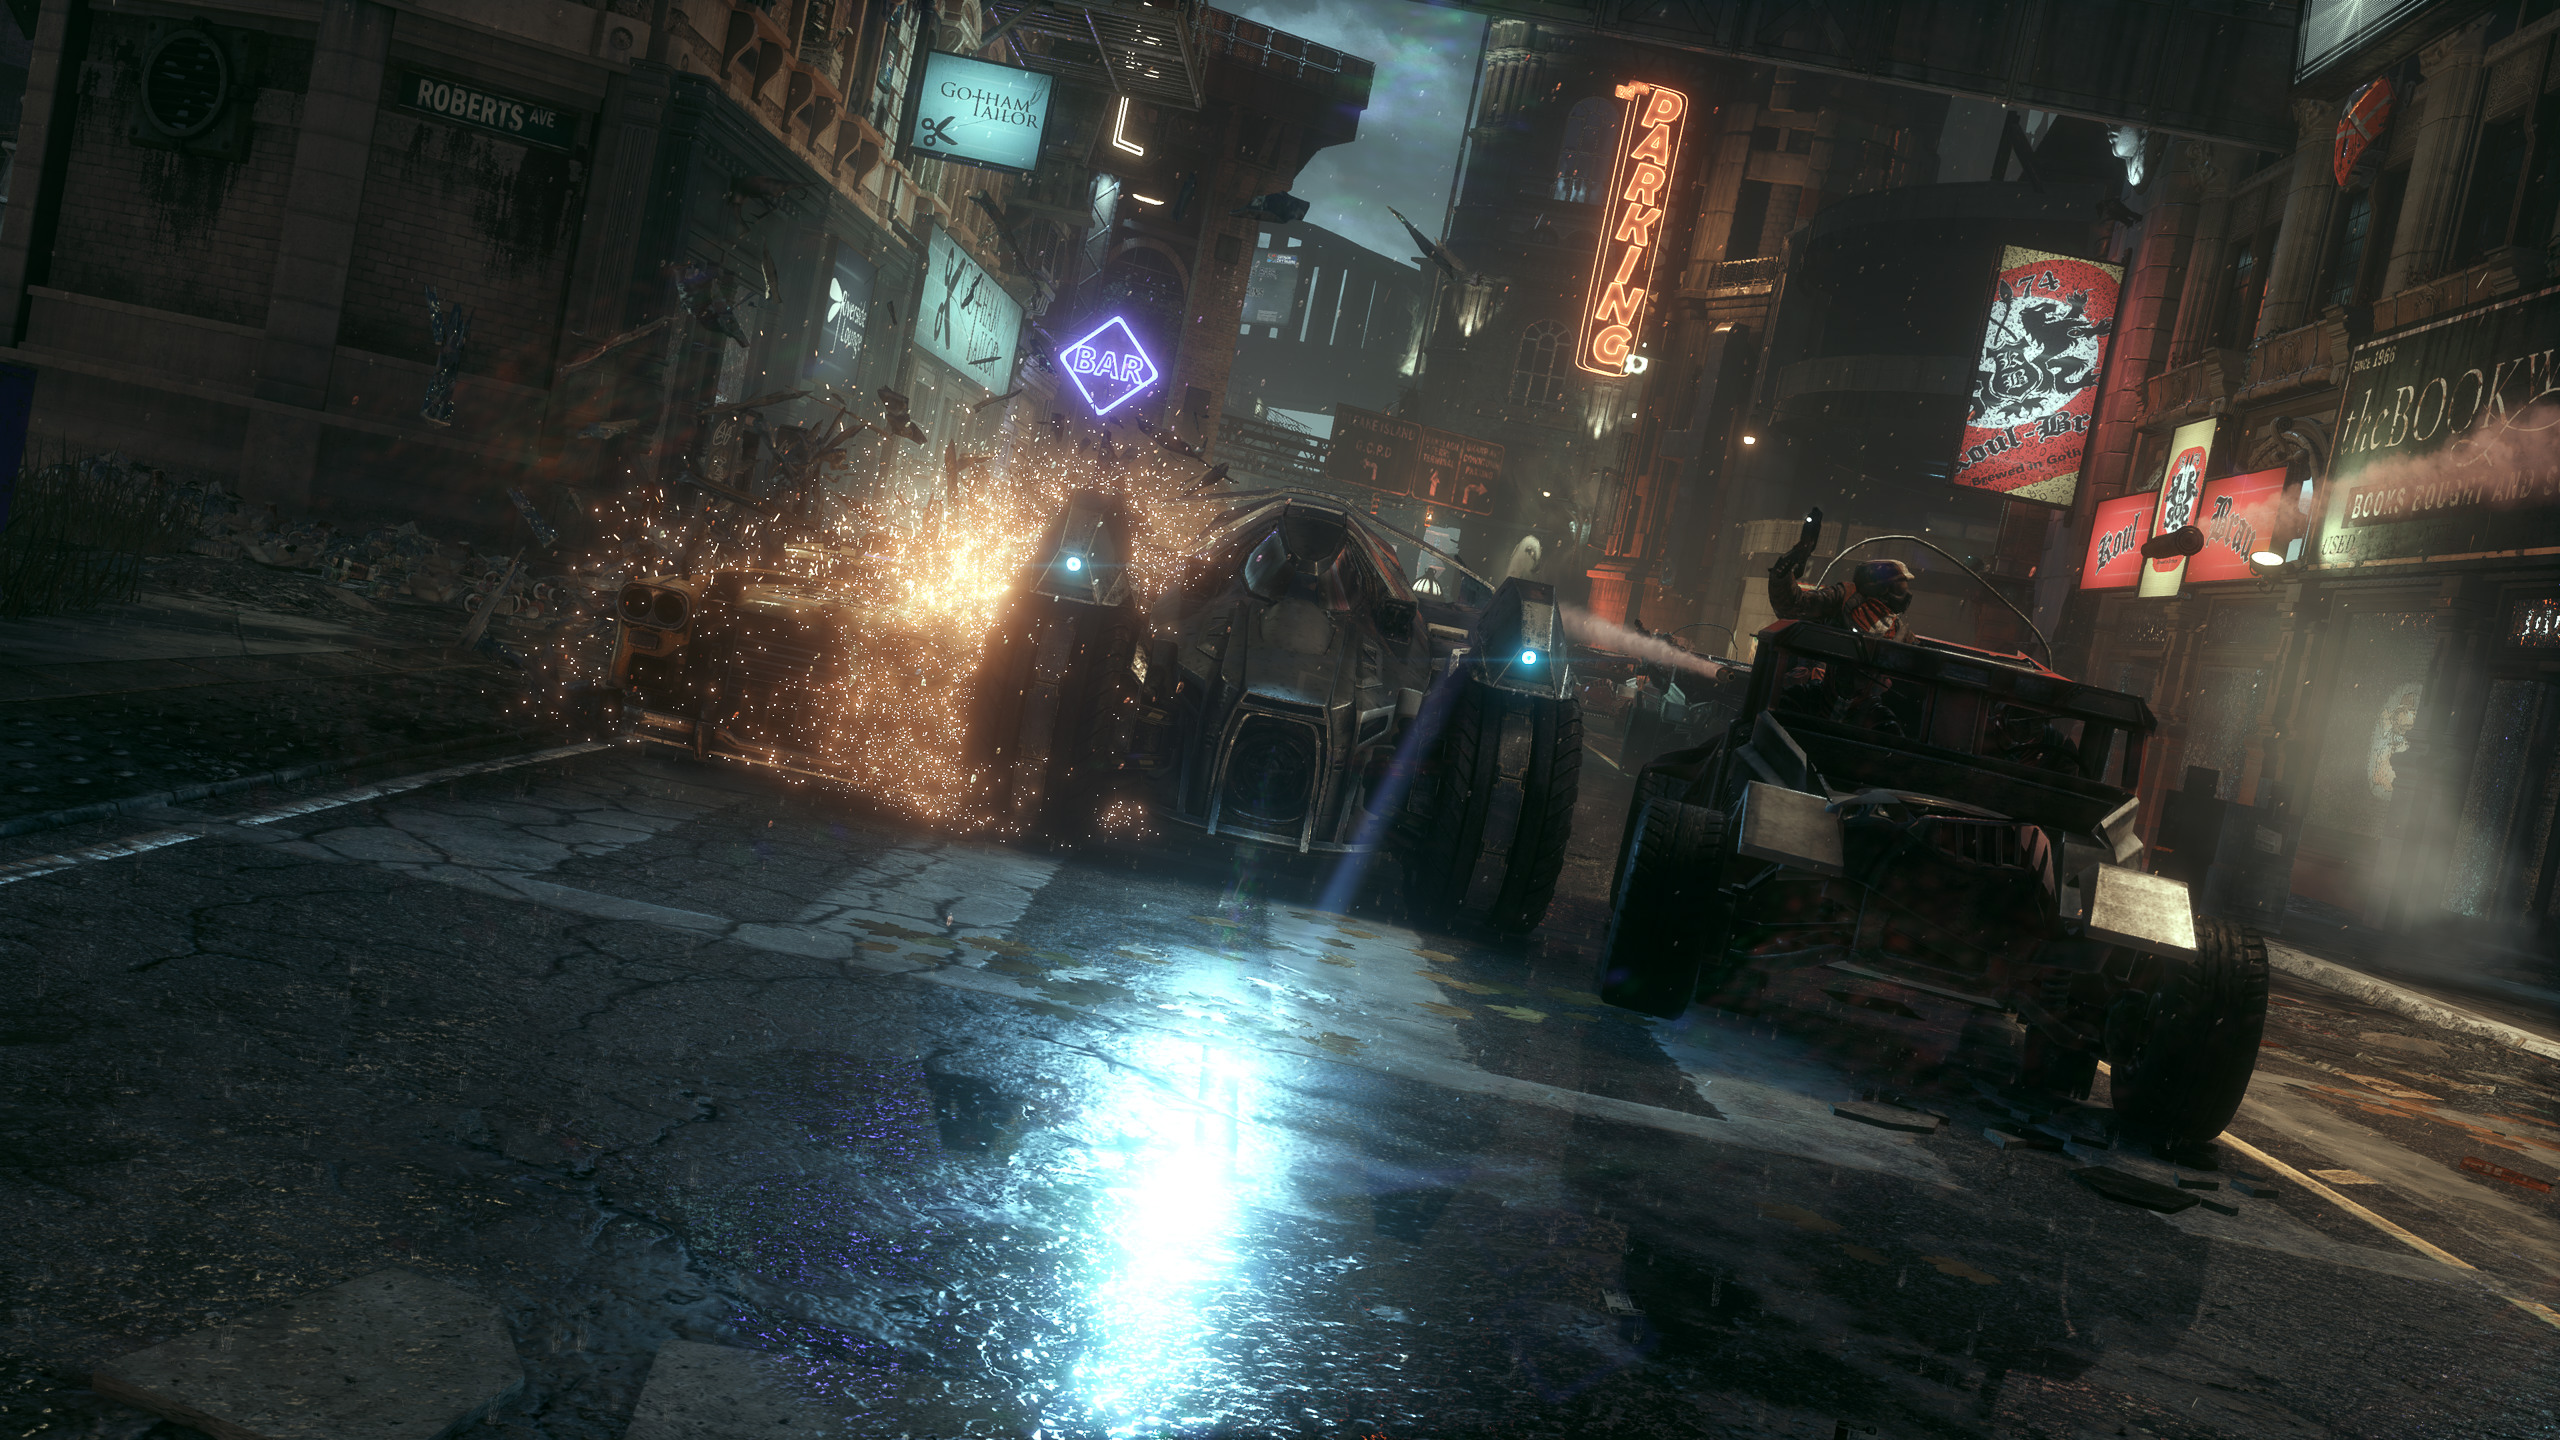
Example in Batman: Arkham Knight. This method works (or it should) with other Otis_inf cameras that have camera paths.
After
Before
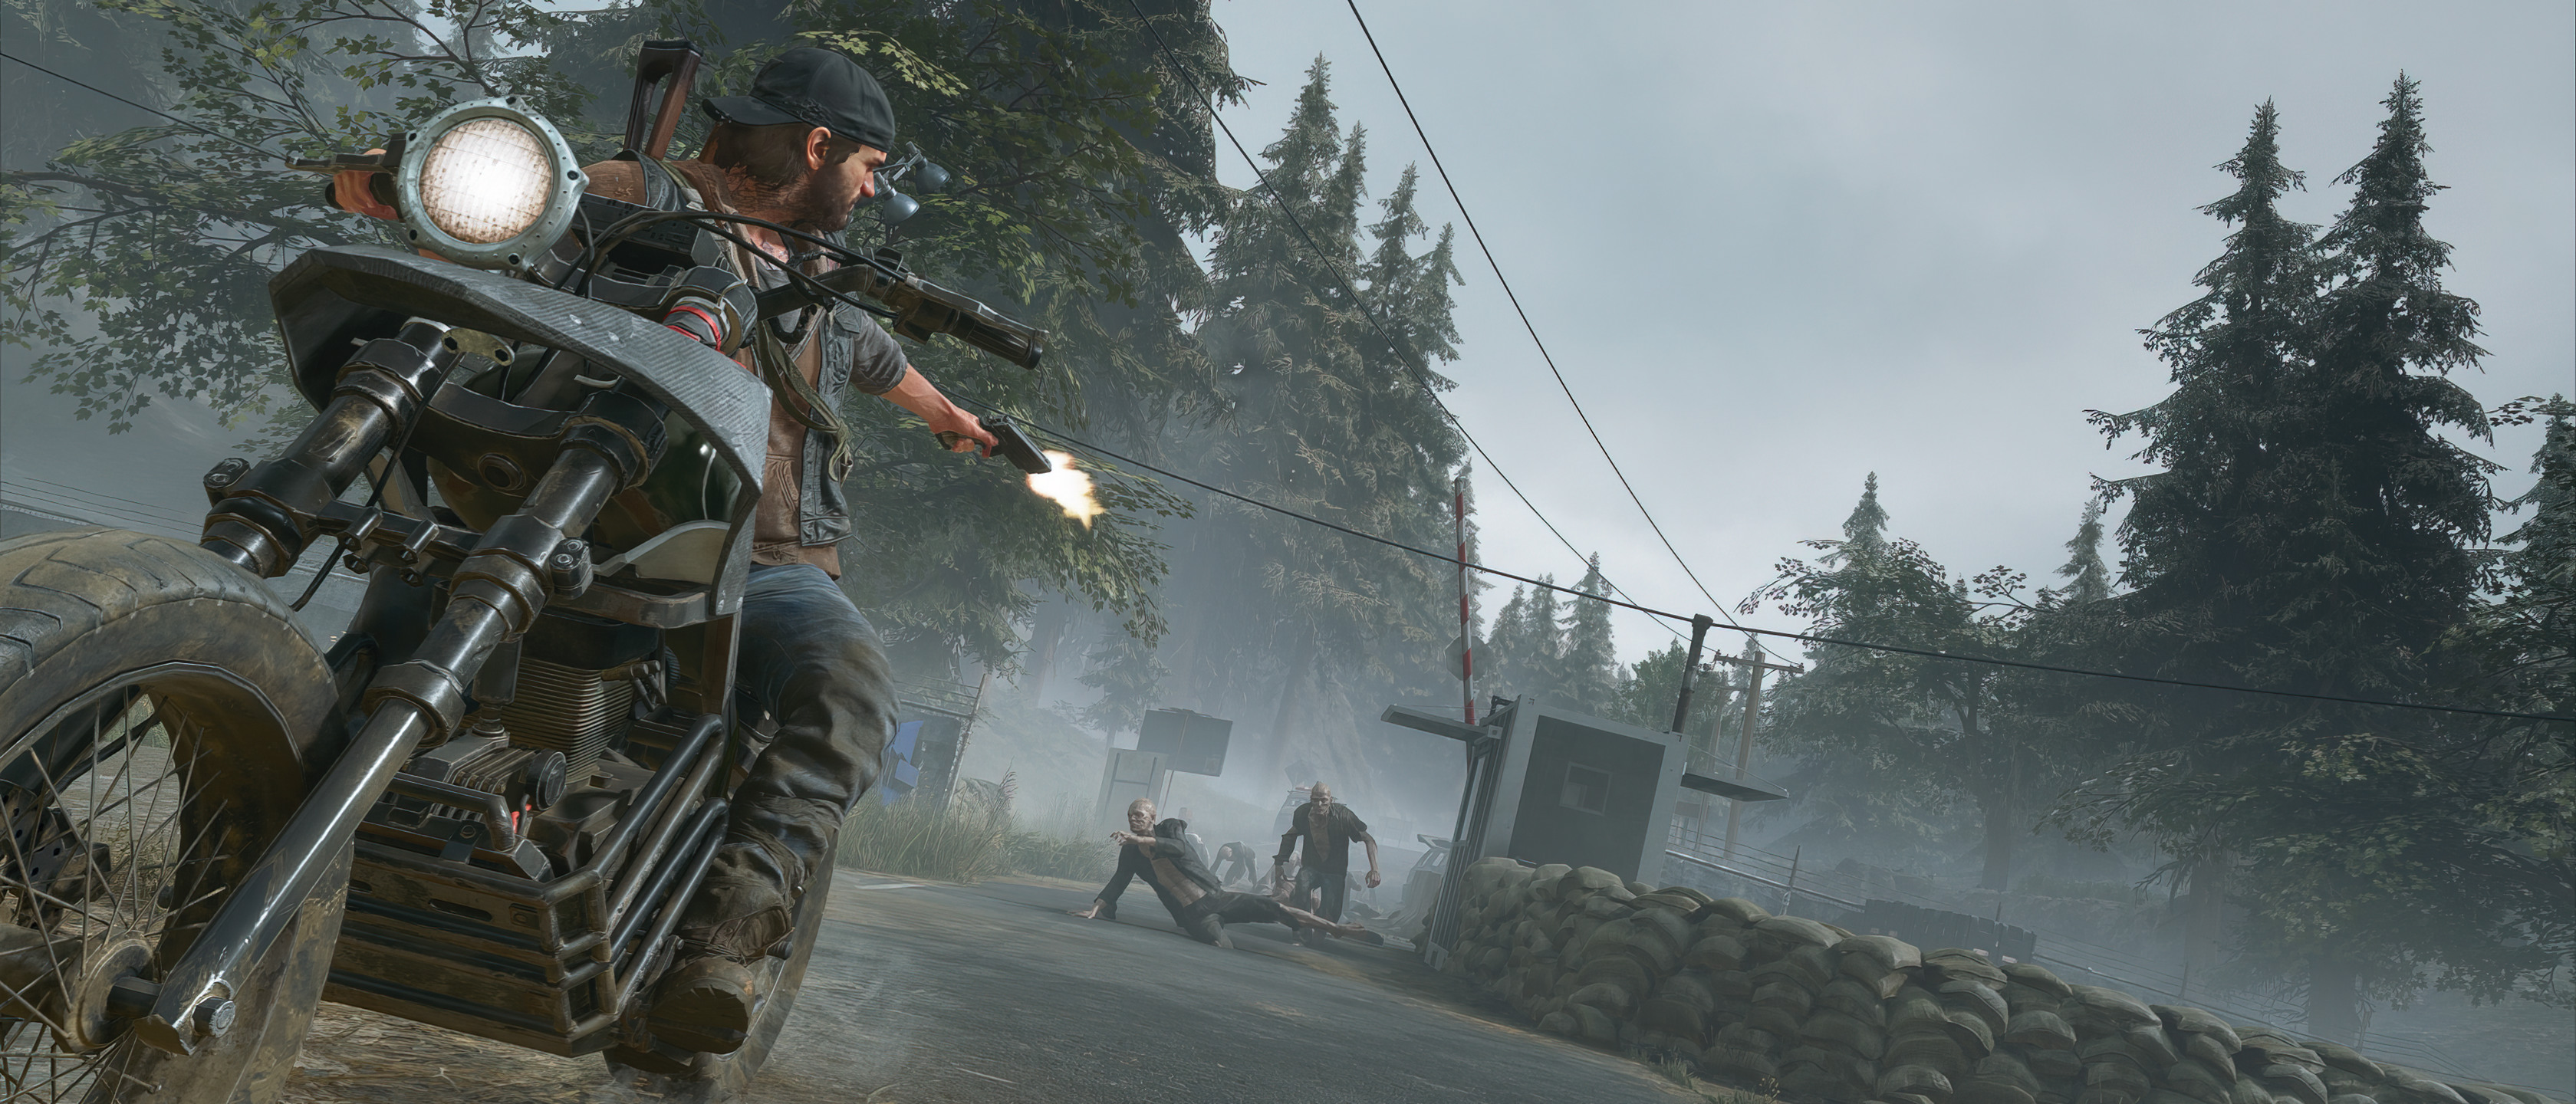
Example in Days Gone.