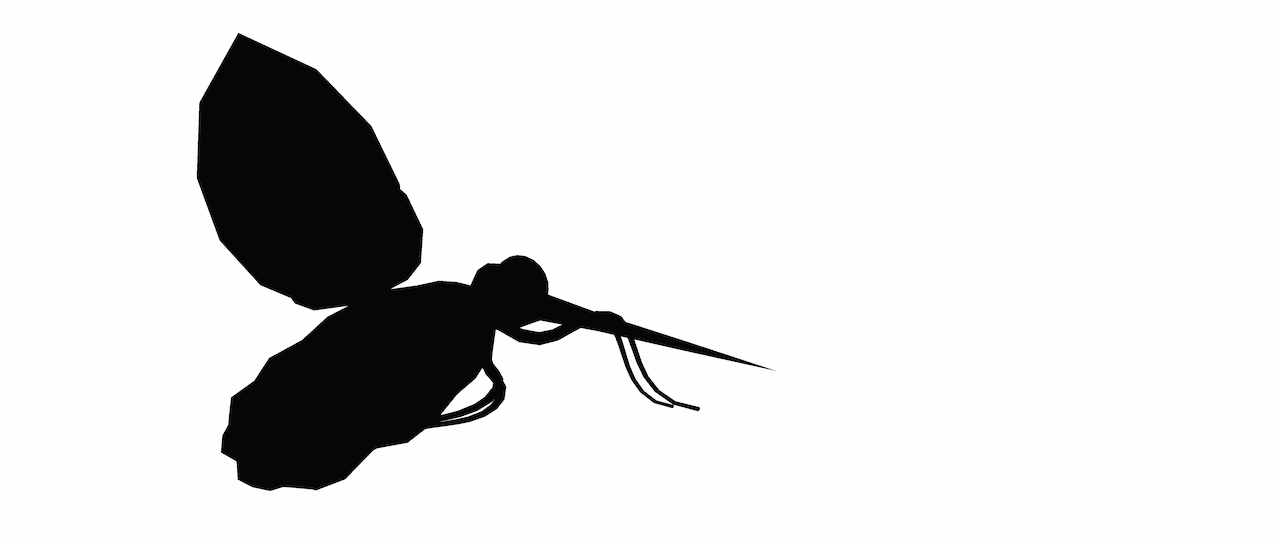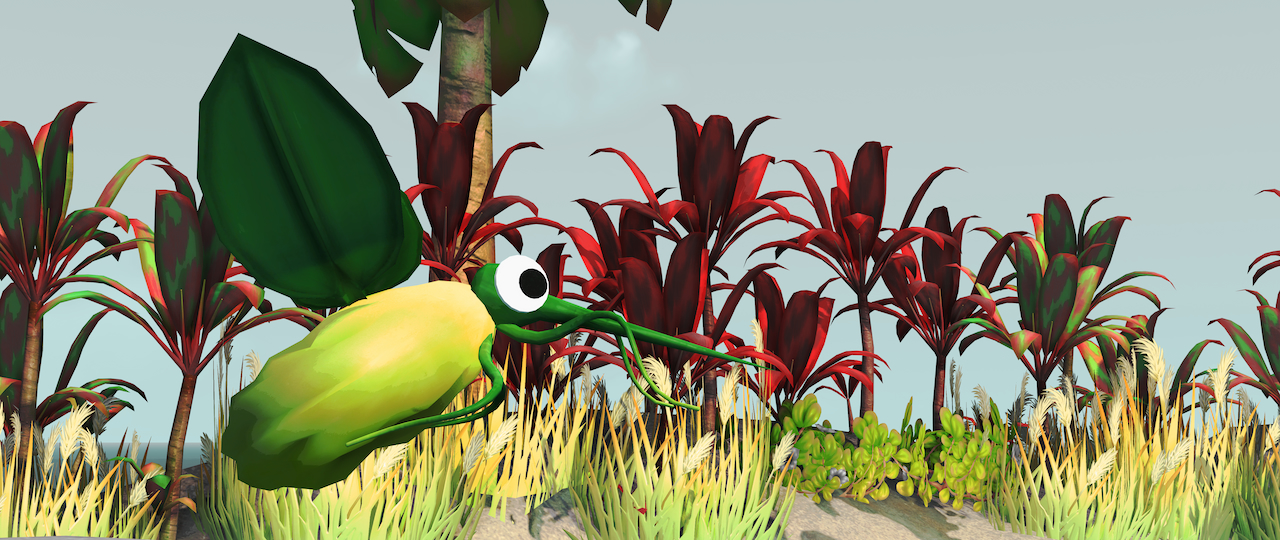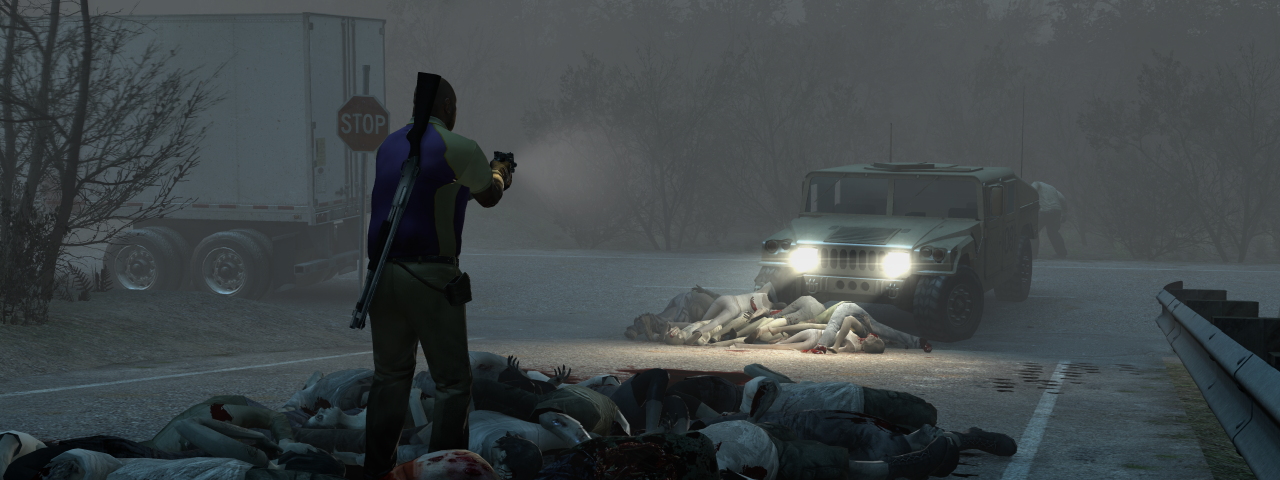
Exporting depth buffers gives you much greater control over any post-work you might want to do on a shot, in Photoshop or other similar image editors. Exported depth buffers, or simply depth maps, can be used as mattes for background replacements, masks for depth-based colour grades, adding effects like fog, or even simulating complex effects like depth of field in post.
While Reshade does offer all this functionality through its extensive catalogue of shaders, some may prefer to make these changes in post. It gives the stability of working 'offline' (can't crash your game if it isn't running!), access to tools one might be more comfortable with, as well as effects that aren't possible in Reshade right now.
This guide will cover the export of depth buffers 3 different ways, all using Reshade but with the use of different shaders. It fundamentally relies on capturing a screenshot of the Reshade effect. Additionally, a short tutorial on how to use an exported depth buffer to add a very simple fog effect is included at the end.
Depth Slice
If all you need is a simple slice of the depth buffer prod80's Depth Slicer is the shader you want. prod80's shaders require the 4 FXH files listed at the top of the repository to be downloaded and added to your shaders. You will also need any colour-modifying shader that can turn the entire scene black, such as qUINT_Lightroom with the black level set to max. The goal is to capture a black-on-white image we can easily use as a mask.
With your scene turned black, make sure Depth Slicer is placed below Lightroom / the shader you're using in the Reshade GUI. We want Depth Slicer to be able to affect the black image. Set Depth Slicer up like shown below.
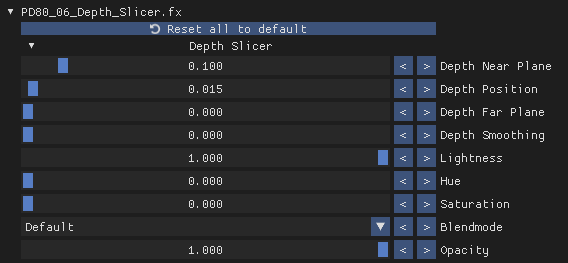
Your scene should now be white, with maybe a slice of black visible. The only settings you need to adjust now are Depth Position and Depth Near Plane. Adjust Depth Position until all of your subject is in black, with the background entirely white. Next, reduce Depth Near Plane until any foreground objects are now white too. I recommend using the arrows to make these adjustments as the sliders can get difficult to work with at such small values.
If set up right, you should get something like this.
You can now capture this and use it as a mask in your image editor of choice. This method is very similar to what you can achieve with Chromakey.fx. A matte is likely to produce a cleaner result than a greenscreen key and is best for still images.
Graded Depth Range
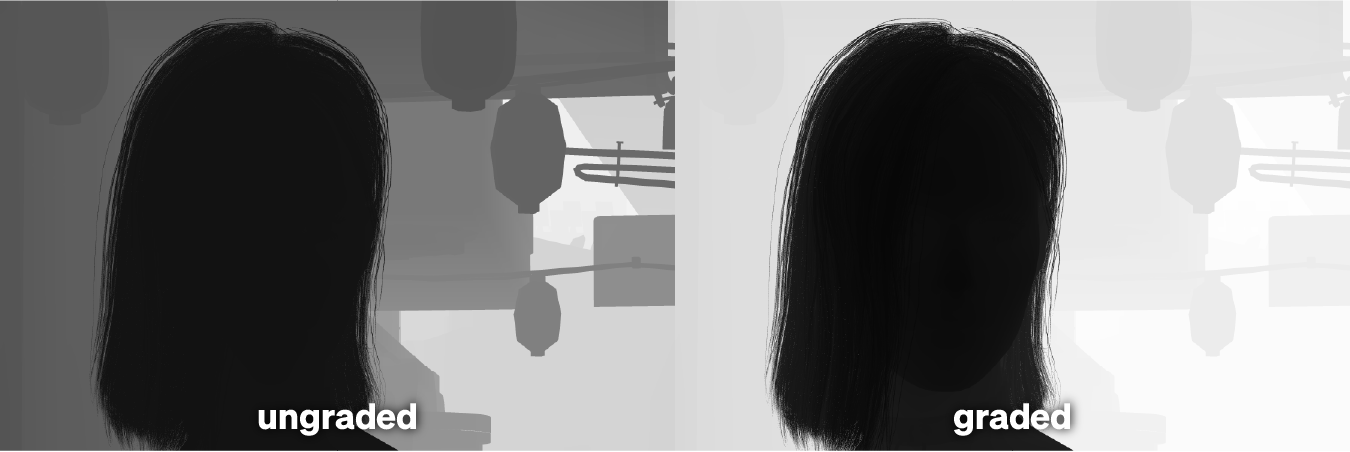
This method exports a specific range of the depth buffer. Given the 8-bit greyscale limitation of a .png/.bmp capture, there's only a maximum of 256 depth layers that can be used. This can expose banding issues when these 256 layers are stretched too thin. By using DisplayDepth.fx's debug features, we can highlight a specific slice of the depth buffer containing only the depth layers we want to work with. This requires that you do know what you want to do with the depth map, since it cannot be modified extensively once captured.
With DisplayDepth.fx active, set Present type to Depth map and enter the Advanced settings. The two settings that are relevant here are Far Plane and Multiplier. Far Plane brings the far plane, the white point, closer to the camera. Multiplier acts sort of like the near plane, bringing the black point further from the camera.
Above is an example of a graded depth map following the above. Far Plane was set to a very small number, 1.0, and Multiplier was increased until the subject (in black) was well separated from the background.
This tiny range of the depth buffer is handy for effects like shallow depth of field portraiture, where the focal plane needs to be only so wide but defocusing of the subject's ears, neck and other features is still desired.
Once set up, screenshot it with your favourite screenshotting tool.
DisplayDepth.fx dithers its depth layers together so that its output isn't full of banding. This dithering can appear as artifacts in some depth effects. A modified version of DisplayDepth.fx that includes a dither toggle can be downloaded here.
High-range Depth Export
This method has mostly been deprecated with the release of ReShade 5.0 and murchalloo's Frame Capture addon. The addon captures and processes 32-bit depth .EXRs with F10, also capturing color and normal buffers in the process.
This last method gets you as close as we can to the full-range, raw depth buffer Reshade depth effects work with. By capturing depth that's been packed into all three RGB channels, it can be unpacked and merged into a 24-bit channel that has many more depth layers than the 8-bit alternative. This relies on BlueSkyDefender's Depth_Tool.fx and a tool written by murchalloo to convert the capture into a 32-bit EXR file, both of which can be downloaded here.
After adding Depth_Tool.fx to your shaders folder and setting up a shot, all you have to do is enable the shader and ensure Reshade is set to capture BMPs. The shader does not need to be adjusted.
The capture should look like this:
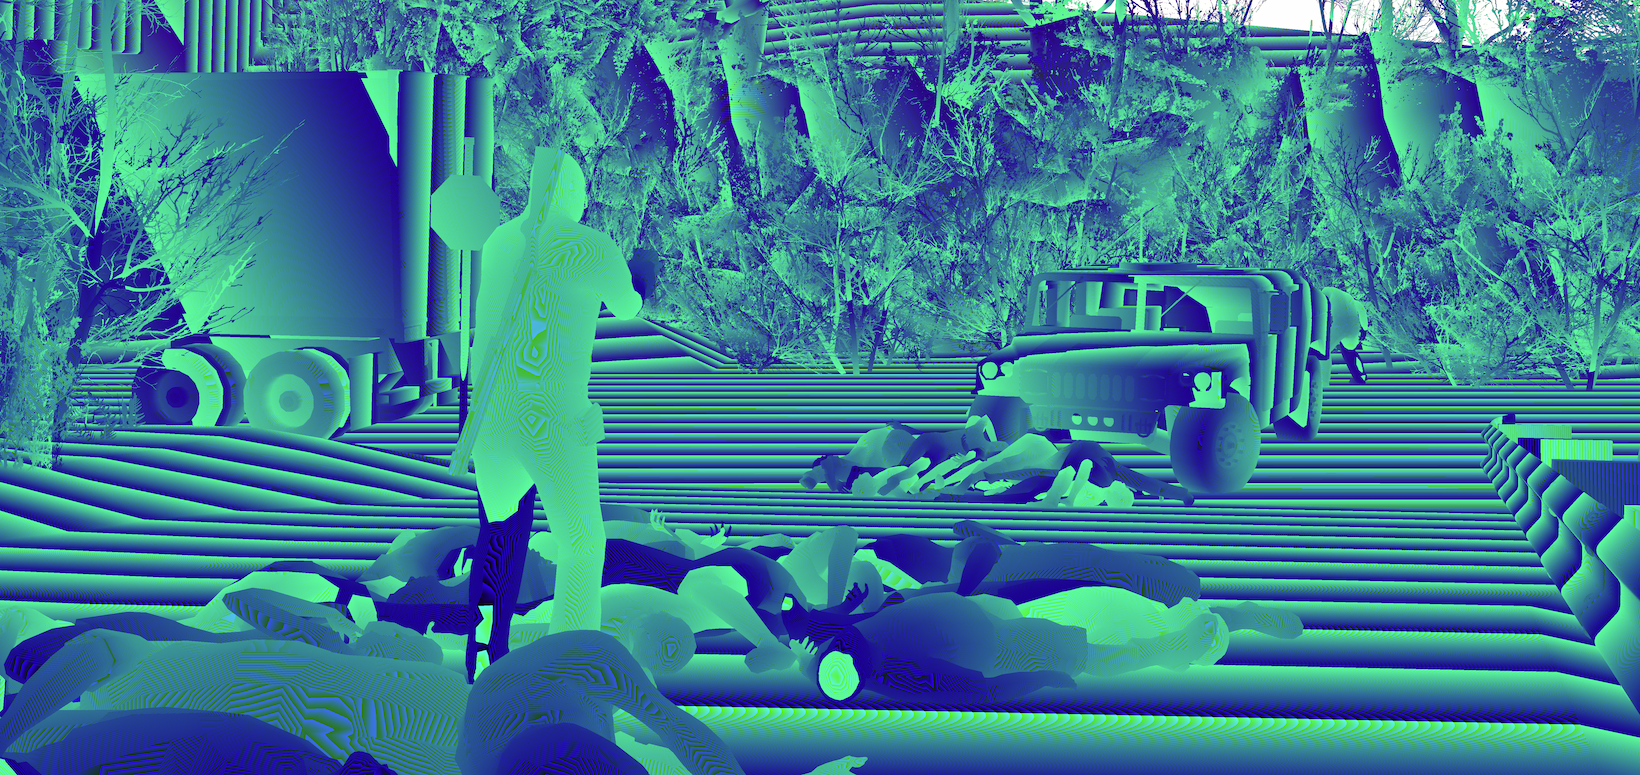
If it looks like a gentle green-blue gradient, Custom Depth Map has to be reversed.
Once saved as a BMP, open the depth converter EXE and follow its GUI. It will output an EXR file into a folder named "output" in the same directory the EXE was placed in.
You now have a perfectly usable high bit-depth depth map to use in any program that supports EXRs!
If converting PNGs to BMPs, ensure that the conversion is to 24 bits per pixel. BMPs support a wide range of bit depths and converters may default to other bit depths.
Tutorial: Adding fog using a depth map
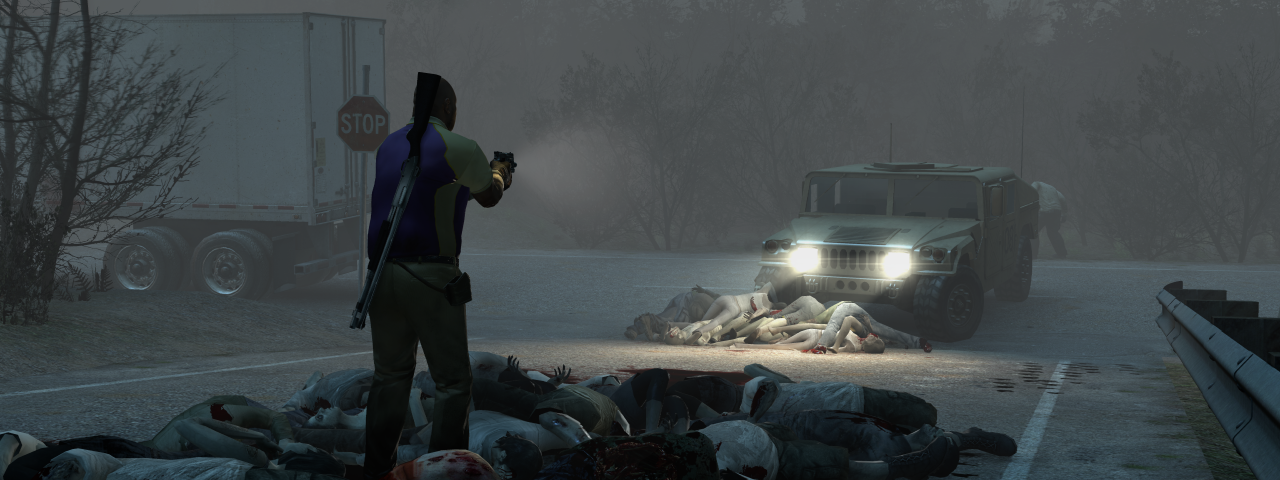
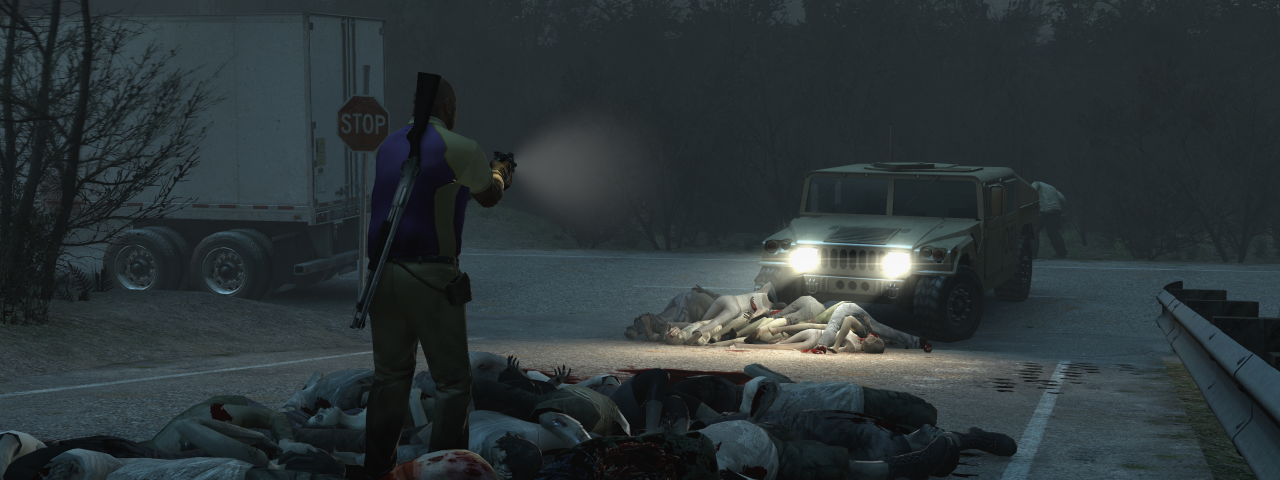
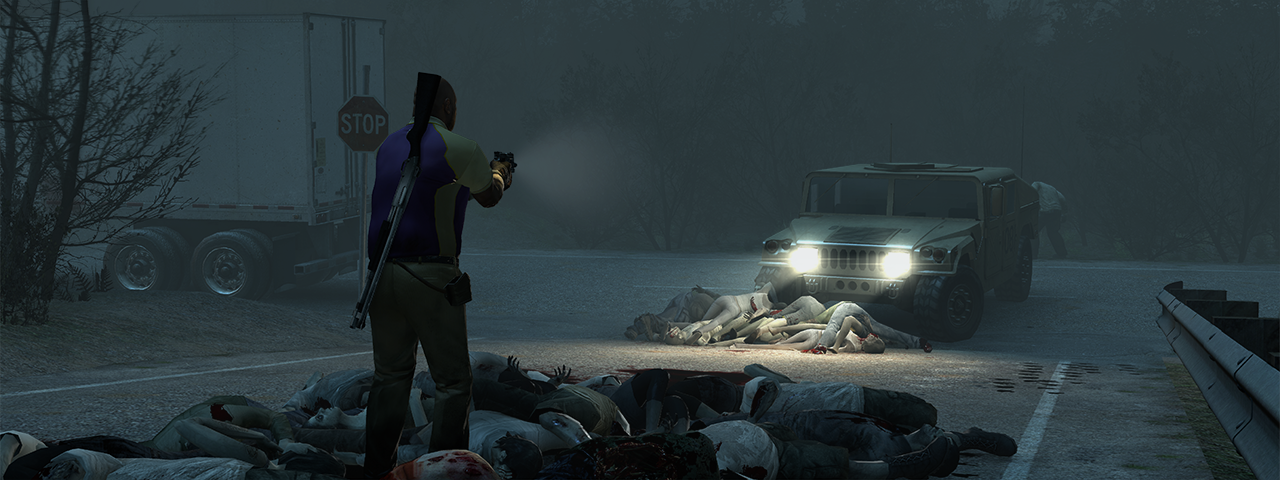
In this final section of the guide, we'll go through how you can use one of these exported depth buffers with this simple Photoshop tutorial. By duplicating our original image, editing it in a way we see fit, then masking it with the depth map, we can mimic the appearance of thick fog in a scene.
You'll want Photoshop CS4 or higher to follow along, but this tutorial can be easily adapted to work with other image editors. I'll be working with a screenshot from Left 4 Dead 2.
Step 1
With your image loaded in Photoshop, unlock it as a background and duplicate it (CTRL+J). This will be the layer we'll work with. Create a new folder/group and place this duplicated layer in it. Rename the folder as "Fog" to keep things organised.
Step 2
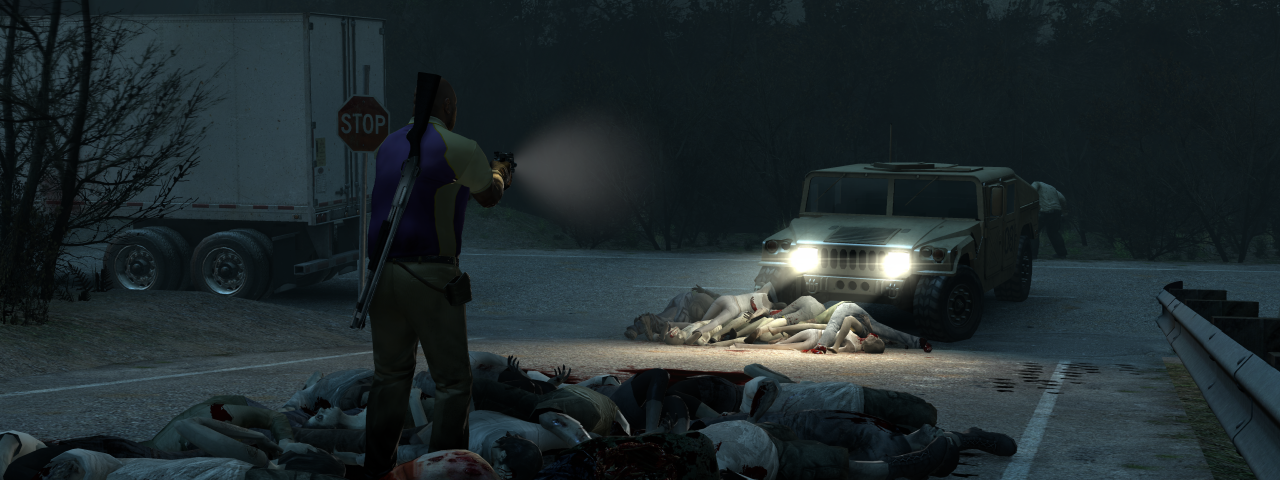
Going over to the Adjustments tab, add a Levels adjustment layer. This will control the bulk of the effect. Drag the left arrow on the second slider towards the middle, this washes out the image considerably but is what we're looking for since we want that grey, foggy look. Next, we can take the middle arrow of the first slider and drag it towards the right. This further flattens out our image. Our last colour adjustment to make is taking the right arrow of the second slider and moving it slightly left. This mimics light falling off in intensity as it travels through the fog.
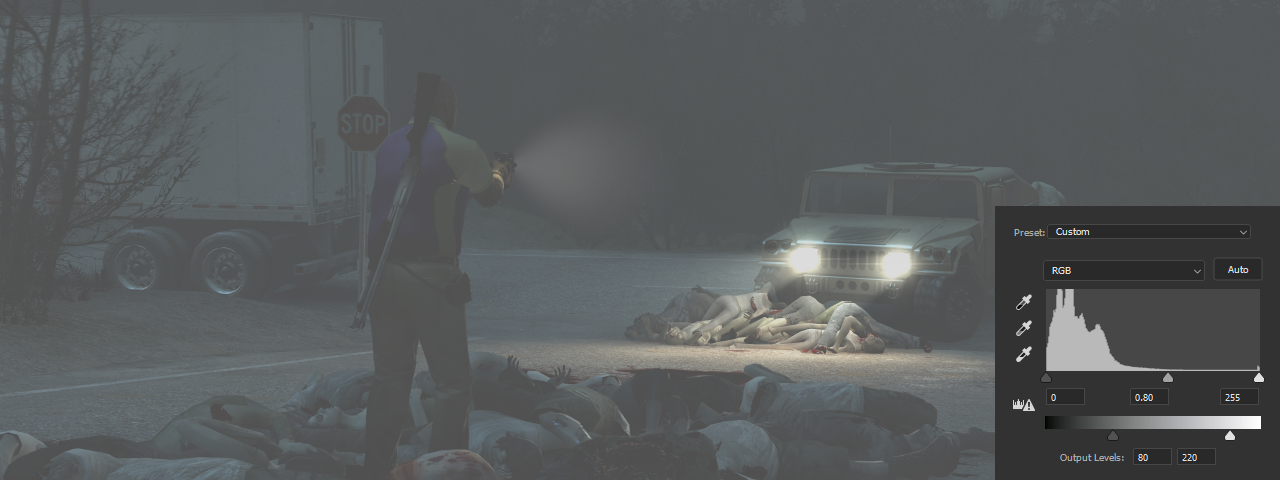
Step 3
Create a mask on your Fog folder. We'll now import the depth map so that we can use it for the fog effect. Ctrl+Click on the depth map layer to select all its contents and copy (CTRL+C) it. Alt+click on the mask of the Fog folder to enter it. We can then paste (CTRL+V) the depth map into the mask. Clicking on another layer, we should now see a gradual transition to the fog. It's not as intense as I'd like it, so now we'll emphasise the fog by grading the mask.
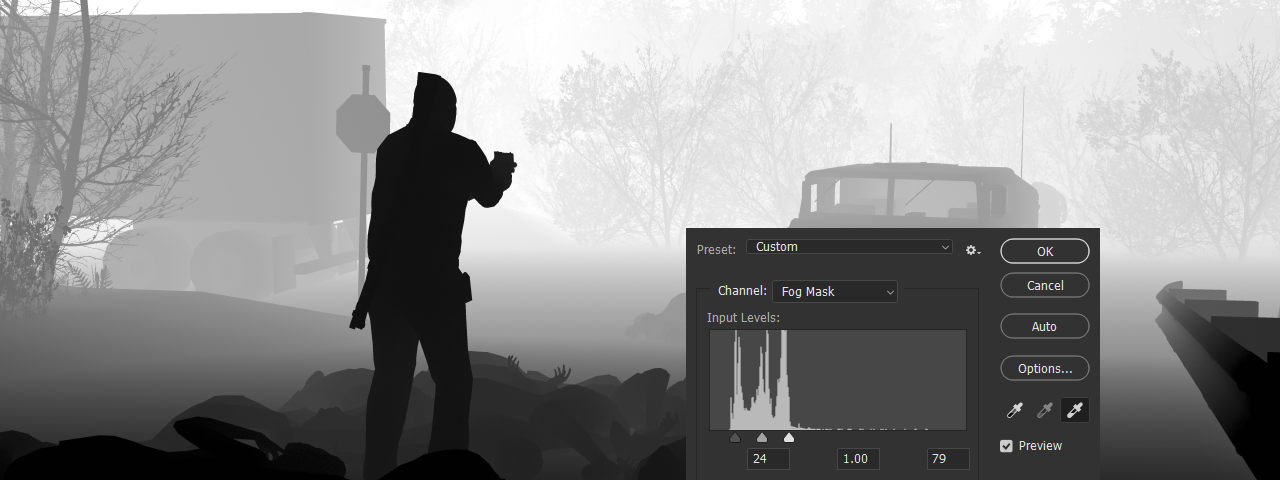
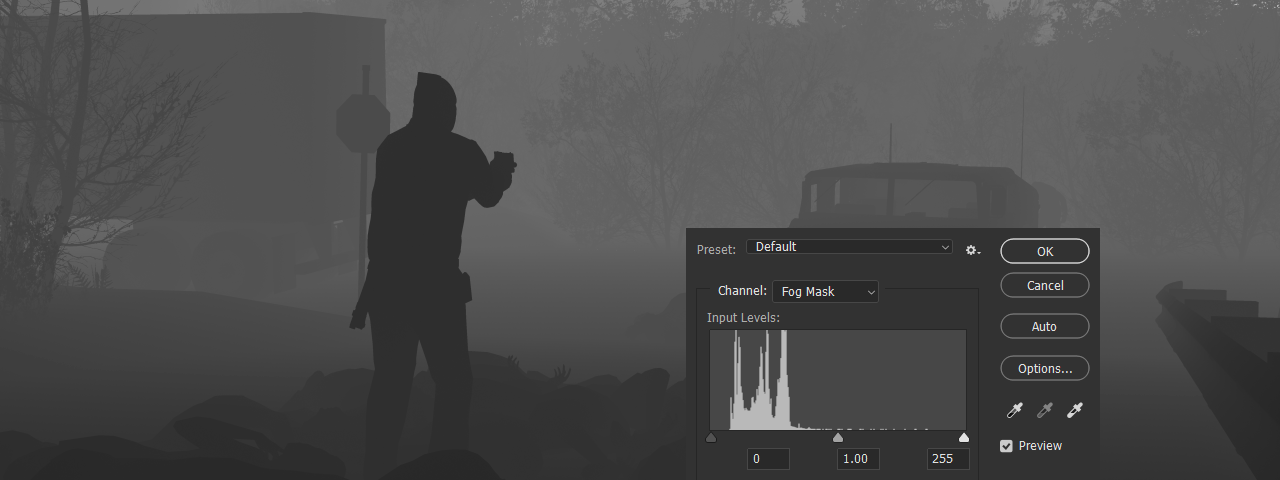
Alt+clicking back into the mask, we can now use Levels (CTRL+L) to grade it. Levels has some handy eyedroppers we'll be using to simplify this process, they're the three buttons above the Preview tickbox. With the leftmost eyedropper selected, we'll set our black point. This determines where fog isn't visible. In my case, I want Coach to be visible, so I'll click on him. The rightmost eyedropper sets our white point, where fog will be strongest. I'll click somewhere in the trees.
Unfortunately, as masks don't do adjustment layers, this grade will be permanent. Click out of the mask, undo and retry until you get the result you're looking for.
A high-range depth map is highly recommended for this process. A regular capture of DisplayDepth.fx will definitely introduce banding when you try to grade it like the above. Alternatively, you can grade the depth map before exporting it (Graded Depth Range), but that won't have the full flexibility of grading in post.
Step 4
Lastly, we can return to our Fog folder and adjust our adjustment layers until we get the look we want. I've tweaked my Layers adjustment to darken the fog more, and added a Color Balance adjustment on the midtones to tint the fog.
The point of this tutorial is to provide you with a starting point for all that can be done with an image and its depth map. I hope this has given you some ideas!
last updated 26th August 2021
written by moyevka
